
Rodents Before Cold Weather: Decatur Entry Points You Can Fix in a Weekend
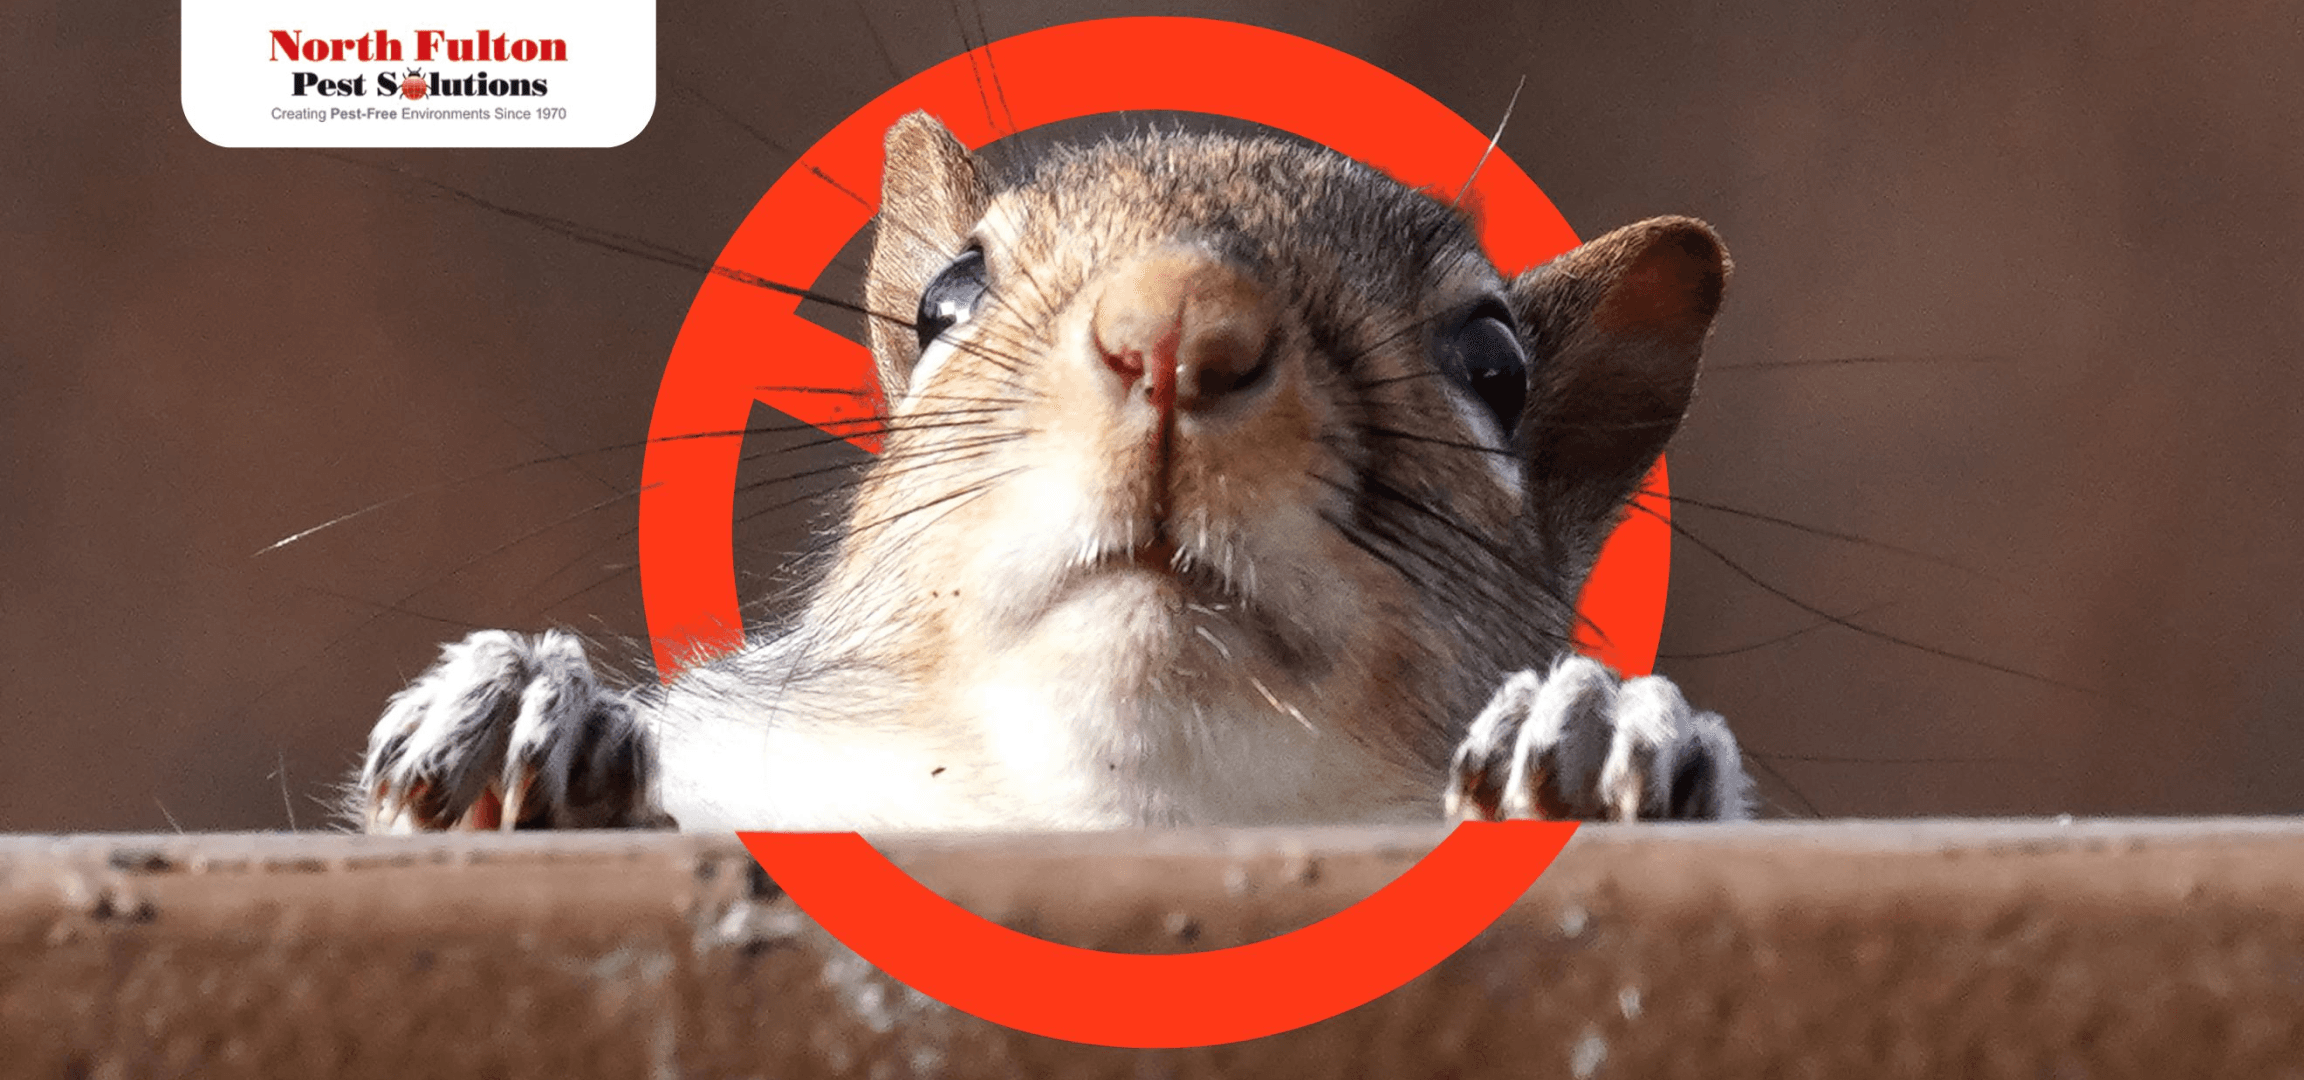
When evenings turn crisp in Decatur — from Oakhurst and Winnona Park to Decatur Heights and the Clairemont–Great Lakes area — roof rats and squirrels start looking for warmth, shelter, and easy food. Garages, attics, soffits, roof line gaps, and wall cavities become prime targets. The faster you button up the shell, the less likely you are to deal with scratching at 2 a.m., shredded insulation, or chewed wiring once the temperature drops.
Below is a practical, two-part weekend plan our team uses every fall. It focuses on simple, durable seal ups you can handle with basic tools, plus clear signals for when it’s time to call us for professional wildlife control in Decatur. Every step is designed to help prevent new entries and keep pressure down through winter — delivering responsible solutions for your peace of mind.
What to fix first (ground level)
1) Replace tired door sweeps and weatherstripping
Stand inside your garage or at exterior doors in daylight and look for light seeping around the bottom or sides. If you can see light, a mouse can likely squeeze through. Install a new commercial-grade door sweep and fresh side/top seals. Pay special attention to the garage — those long thresholds are one of the top winter entry points in Decatur.
2) Seal utility and hose-bib penetrations
Where cable, gas, or water lines pass through the exterior, gaps often open as caulk ages. Backfill larger openings with copper or stainless-steel mesh, then finish with exterior-rated sealant (polyether or polyurethane). This combination resists gnawing far better than foam on its own.
3) Fix low-level vents and screens
If you have low wall or foundation vents, make sure they’re covered with intact ¼-inch galvanized hardware cloth (cut to fit and secured with screws and washers). Replace any torn dryer vent hood screens and make sure flaps still close freely.
4) Tighten up food and clutter zones
Store bird seed and pet food in lidded containers. Clear stacked cardboard, firewood, and outdoor gear from along the foundation — these pockets provide harborage and “launch pads” for night activity. Keep 6 inches of air gap between mulch and the foundation, and make sure downspouts push water away to reduce damp edges that attract foraging.
Mid - level checkpoints
5) Siding joints and service chases
Walk the perimeter at eye level. Look for gaps at siding transitions, meter bases, conduit covers, and where HVAC lines enter the building. Seal any seams you can slip a pencil tip into; a pencil width void is plenty for a small rodent to start working wider.
6) Windows over garages & porch doors
Cooling weather makes rodents test elevated access points. Check for gaps at trim, warped thresholds on side doors, and any damaged screens. Re-caulk hairline separations and replace brittle sweeps.
Upper levels & roofline focus
7) Eaves, soffit returns, and trim
From the ground (or safely from a ladder), look for chew - outs at fascia ends, lifted drip - edge, or missing soffit panels — especially above carports and porch roofs where limbs overhang. Where you find a gap, back it with hardware cloth or metal flashing and seal the edges. Foam alone won’t last against teeth.
8) Gable and attic vent protection
Ensure gable and other exterior vents have intact ¼ - inch hardware cloth behind any decorative louver. If you can flex the screen with a finger, a squirrel can likely push through. Re-secure with screws and washers, not staples.
9) Branches as “bridges”
Trim limbs back so they don’t overhang the roof or touch the structure. In neighborhoods with mature oaks and pines, a single limb brushing the roof can be a nightly on-ramp.
What not to do
- Don’t seal animals inside. If you’re hearing nightly activity in the attic or walls, set up monitoring or call us first. Sealing an active entry can push animals deeper into living areas.
- Skip repellents as a stand-alone fix. Scent and sound gadgets don’t stop determined rodents. Physical exclusion (mesh, metal, and proper seals) is what holds through winter.
- Avoid loose poison indoors. In living spaces, use mechanical traps; baits belong in locked, exterior stations as part of a broader plan.
The weekend kit (what to have on hand)
- 1–2 aluminum or vinyl door sweeps (garage + back door)
- ¼-inch galvanized hardware cloth, tin snips, exterior screws & washers
- Copper or stainless-steel mesh (not steel wool, which rusts)
- Exterior-rated sealant (polyether or polyurethane) and caulk gun
- Utility knife, drill/driver, pry bar, work gloves, safety glasses
- Flashlight or headlamp for inspecting tight corners and upper trim
What to expect after you seal up
- 1Days 1–3: Night time scurrying often drops quickly once the main gaps are closed. You may still hear brief checks at former entry points.
- 2Week 1–2: If there were animals inside, expect some activity while traps or one-way devices do their work. We recommend professional placement to help ensure a clean, compliant eviction.
- 3Ongoing: With the shell tightened and food/harborage reduced, winter pressure typically stays low. Re-walk the exterior after storms and big wind events.
When to call our team
- You still hear movement after 3 – 5 nights post seal.
- You find fresh droppings, gnaw marks, or new rub trails at roofline or door sweeps.
- Entry points require roof work, elevated access, or structural repair.
- Insulation is soiled or you notice lingering odors and need clean up of contaminated materials or insulation replacement.
We’ll inspect the shell, confirm species and active routes, install professional-grade exclusion (hardware cloth, flashing, and door and vent upgrades), and set a targeted trapping or one-way door plan. Then we confirm activity has stopped, address contributing moisture or food sources outside, and schedule follow-up checks — helping keep wildlife pressure down through the season for your peace of mind.